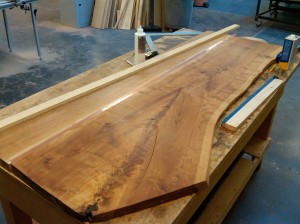
The two boxes are done, and the slab was glued, so now had to put finish on it.
Finishing the two boxes was quick - a light sanding and a coat of Danish oil. Finishing the slab took a bit longer.
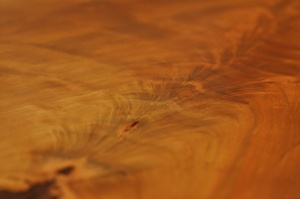
After removing the bark from the front and finishing that edge, I finished the top with an orbital sander, and finished it with a coat of Danish oil. In hindsight, I could have sanded less, applied the oil, then sanded the wet surface to save some time, but do like how very very smooth it is. Once I put on the oil, it really looked amazing.
I wanted the surface to be as smooth as possible and finished so that the grain would be something you could just stare at for hours.

There's a seam where the lumber is glued to the slab. The two pieces are matched up pretty well, but it's still quite noticeable, so I wanted to inlay a thin band of copper along the seam and thought that would look really cool.
I routed a very thin groove into the piece, then did a bit of filing to make sure the copper fit perfectly. I bought a sheet of copper from Veneer Supplies and the adhesive. I wish I could get the copper in a roll - cutting identical strips to run the length of the board was much harder than I thought. The copper adhesive has worked well so far, but I should have planned the clamping better. Parts of it have a bit of a tacked-on-with-a-hot-glue-gun sort of look. Gross. Well, maybe not that bad, but it could certainly look better.
It's currently in my apartment (resting on paint cans until I finish the copper frame) with the boxes below, and is looks just as I planned. I noticed a crack extending from the narrow end of the slab - I need to add a butterfly to stop that from spreading. The final step will be rout a thin grove in the narrow end that will keep a removable cushion in place (cushion for seating for parties, books when just me), as well as cutting a small notch in the back edge on the wide end to allow cables to pass from the TV above to the DVD player below, etc.
Stay tuned for part III and more pics...]]>


Comments